December 4, 2010

Rugelach!.....Oh Rugelach! Where have you been all my life?

I think I'm in love! In the midst of all of the year end hustle and bustle I decided to branch out from the normal Holiday treats and try something new. A few weeks ago my friend Karli asked me if I had any good recipes for Rugelach. I had honestly never heard of it but found a recipe that looked absolutely scrumptious. However, it had an ingredient that isn't sold in most stores. Needless to say I went on the hunt for a different but equally tasty recipe.(I think I'm still going to order it some day and try it out.) I found this recipe the other day while looking on Yahoo! Shine in the Food section. Like I said earlier, I had never heard about and/or tried Rugelach and can I just say it's now my new favorite confection! It's everything you want in a sweet little treat. It has lite, flaky dough, tangy fruit filling, crunchy nuts and a bit of chocolate too! So, without further ado....


RUGELACH

For the dough:
12 ounces (1 and a 1/2 packages) cream cheese at room temperature
2 sticks unsalted butter at room temperature
1/2 teaspoon kosher salt
6 tablespoons sugar
1 teaspoon vanilla
2 1/2 cups unbleached all-purpose flour

For the filling:
1 cup mini chocolate chips
1/2 cup brown sugar
1/2 teaspoon cinnamon
1 cup mixed nuts, such as pecans or almonds
1/2 cup apricot jam


1. In the bowl of an electric mixer fitted with the paddle attachment, cream butter, cream cheese, and sugar. Add salt and vanilla, and mix until light and well blended. Add flour and mix until just incorporated.

2. Divide dough into four equal parts. Form the parts in balls and wrap each in plastic wrap. Refrigerate for at least one hour.

3. In a food processor fitted with the blade, pulse together brown sugar, 1/2 teaspoon cinnamon, and nuts until the nuts are finely chopped. Set aside.

4. Preheat the oven to 375 degrees.

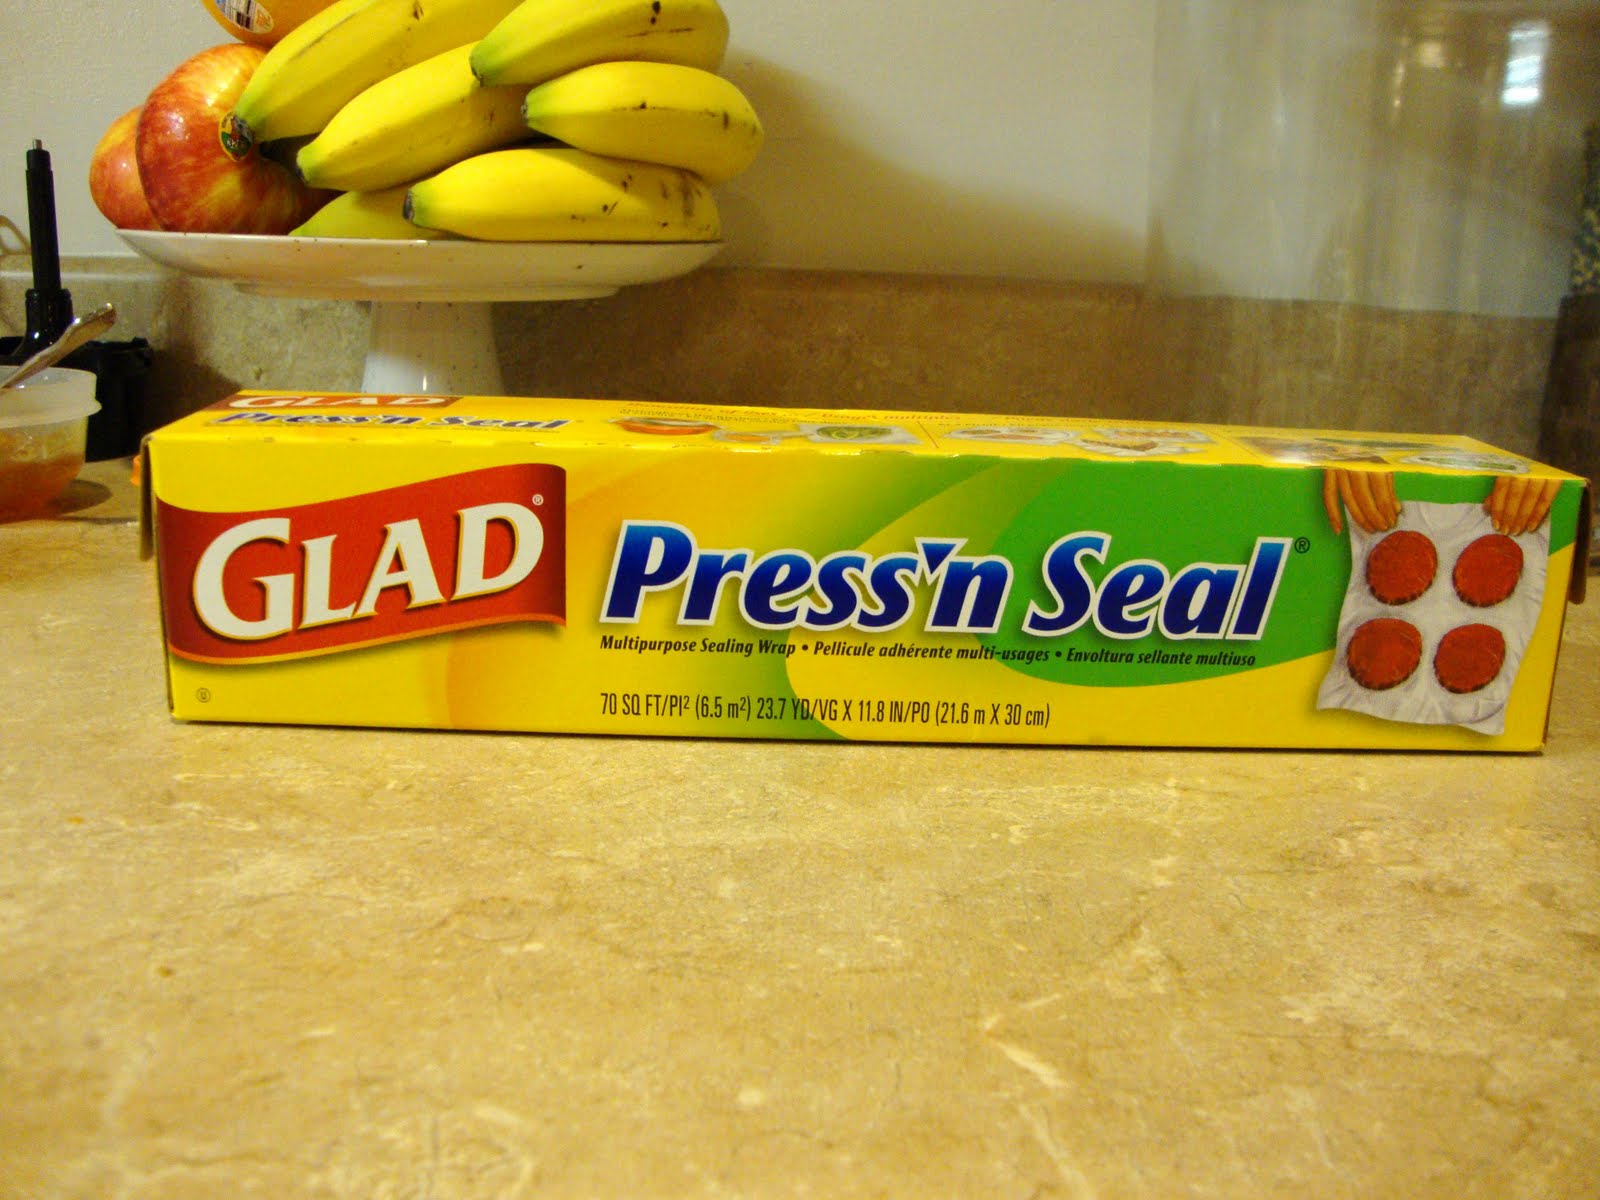
5. Roll one ball of dough until it is about 8-9 inches in diameter. I like to use GLAD Press 'n Seal wrap when rolling out any kind of dough. Just pull a large enough sheet out to give yourself enough room to roll out your dough for whatever you're making. Place the tacky side on the counter and press one half of it down. Place the ball of dough on the side that is stuck to the counter and fold the other half of the Press 'n Seal wrap over.


6. Warm the jam in the microwave for about 30 seconds. Spread 2 tablespoons of it on the dough, followed by 1/3 cup of the brown sugar mixture, and 1/4 cup of the mini chocolate chips. With a rolling pin, gently press the filling into the dough.


7. Use a pizza cutter or a sharp knife to cut the round into 12 equal wedges like a pizza. Starting with the outside of each wedge, roll up and place each cookie, with the point on the bottom, on a cookie sheet lined with parchment paper. (I used my Silpat baking mat instead of parchment paper.)


8. Mix together cinnamon and sugar in a small bowl. Brush cookies with egg wash and sprinkle with cinnamon and sugar mixture.

9. Bake at 375 degrees for 10-15 minutes, or until the corners start to brown. Let cool for 5 minutes before transfering to a cooling rack.


This recipe has definitely made in to my Holiday Cookie repetoire and hopefully you'll give it a shot too! :)

October 29, 2010

Happy Halloween!

With all of the decorations and costumes in all of the stores this season, I couldn't stop my creative side from catching the Halloween bug! I was inspired last week to bake a few goodies for my co-workers and the ladies at my mom's office. This post is a little different from the others. I've decided to do more of a tutorial than just pretty pictures. :) The recipes I used for the cookies and icing are from this post. I hope you get inspired to try them yourself and see how easy decorating cookies can be!

FALL COOKIES: (for the office ladies)


Pumpkin


1. Pipe the stem with Wilton icing tip #3. Let dry. (about 5-10 min.)
2. Fill in the pumpkin with tip #3. You can outline the edge of the pumpkin to create a border and then fill in the middle. Let dry. (about 5-10 min.)
3. Pipe the lines on with tip #3. Let dry. (about 5-10 min.)
4. Pip on the vines with tip #1. Let dry. (about 5-10 min.)


Mum


1. Pipe the inner circle with tip #3.
2. Pipe the outer circle in a zig zag to create the edges of the petals with tip #3.
3. Before the icing has time to set and dry drag a toothpick from the inner circle to the outer circle to creat the two toned flower design. Let dry. (about 5-10 min.)
4. Fill in the middle with yellow with Wilson icing tip #3. Use the icing tip
to make the points in the middle. To do this you just put the tip straight down in the icing and lift straight up. It will make small points that should dry to look like the center of a flower.


Sunflower


I completely forgot to take "Step shots" of this one.
1. Pipe the petals with tip #3. Be sure and do every other one and let them set/dry before you fill in the rest of the petals. If you do them all at once the royal icing will run together and you'll have one giant sloppy flower.
2. Pipe the middle with tip #3, but like the petals, do every other one or else you won't have the defined sunflower seed look.


Corn on the Cob


1. Pipe the green icing in the shape of corn husks using Wilson icing tip #3. Let dry. (about 5-10 min.)
2. Pipe the rows for the corn using tip #1. Let dry. (about 5-10 min.)
3. Pipe the corn husk details using tip #3. Let dry. (about 5-10 min.)
4. Pipe beads of icing in brown and tan to look like corn pieces. Let dry. (about 5-10 min.)
5. Continue to fill in the corn rows with yellow. Be sure not to place two beads next to each other in between piping or else they will run together and create a pool instead of the individual corn pieces. Let dry. (about 5-10 min.)


HALLOWEEN COOKIES: (for the co-workers)


Black Cat


1. Pipe the border of the cat with Wilson icing tip #1. Let dry. (about 5-10 min.)
2. Fill in the center. Let dry. (about 5-10 min.)
3. Pipe the green eyes with tip #3 and immediately pipe in the pupils with tip #1. Let dry. (about 5-10 min.)


Jack'O'Lantern


1. Pipe the stem on with Wilson icing tip #3. Let dry. (about 5-10 min.)
2. Pipe the face of the Jack'O'Lantern with tip #1. Let dry. (about 5-10 min.)
3. Pipe the border of the pumpkin with icing tip #3. Let dry. (about 5-10 min.)
4. Fill in the middle of the pumpkin. Be careful not to push icing on top of your Jack'O'Lantern face. Let dry. (about 5-10 min.)
5. Pipe the lines of the pumpkin with tip #3. Let dry. (about 5-10 min.)


Ghost


I completely forgot to take "Step shots" of this one too.
1. Pipe the border with Wilson icing tip #3. Let dry. (about 5-10 min.)
2. Fill in the center of the ghost. Let dry. (about 5-10 min.)
3. Pipe the details of the face with icing tip #1. Let dry. (about 5-10 min.)


Bats


1. Pipe the border with Wilson icing tip #1. Let dry. (about 5-10 min.)
2. Fill in the center. Let dry. (about 5-10 min.)
3. Pipe the eyes with tip #3 and then immediately pipe the pupil with tip #1. Let dry. (about 5-10 min.)
4. Pipe the mouth and fangs with tip #1. Let dry. (about 5-10 min.)
5. Pipe the hairy body with tip #1. Let dry. (about 5-10 min.)
6. Pipe the details of the wings with tip #1. Let dry. (about 5-10 min.)

October 4, 2010

I'm back!....with Meringue cookies!

I've clearly taken a hiatus from blogging lately...So many baked goods + so little people to give them to = a few more pounds than I care to disclose. :) With a little more running and a lot less sweets those pounds are gone and I'm back with more waistline friendly confections. I found my first recipe on www.weightwatchers.com. These cookies remind me more of candy than a cookie. They're light, airy and you can have two for only 50 calories....I know, who knew that was even possible! I think these would be adorable at a baby or wedding shower.

CHOCOLATE AND VANILLA MERINGUE COOKIES

4 large egg white(s)
1/2 tsp distilled white vinegar, or apple cider vinegar
1 cup(s) sugar
2 tsp vanilla extract
2 Tbsp unsweetened cocoa powder


1. Preheat oven to 200ºF. Line 2 baking sheets with foil.

2. In a large bowl, beat egg whites with an electric mixer until frothy.

3. Add vinegar; beat until soft peaks form. Increase speed to high and gradually add sugar; beat until glossy stiff peaks form. Beat in vanilla.

4. Remove half of meringue to another bowl; stir in cocoa until blended.

5. Spoon tablespoons of both meringues onto prepared baking sheets about 1 inch apart each, making about 44 cookies – half vanilla-flavored and half cocoa-flavored. Or you can make marbleized cookies by spooning 1/2 tablespoon of each type of meringue into a mound and then swirling the 2 together with your fingers.

6. Bake until meringues feel dry and crisp all the way through, about 3 hours.

7. Turn off oven; leave meringues in oven for 1 hour.

8. Transfer baking sheets to wire racks to cool completely.

9. Peel meringues off foil and store in an airtight container. Yields about 2 cookies per serving.


You could even use a little food coloring with the vanilla to coordinate with your party theme!


I think the next time I make these I'm going to use a pastry bag and create smaller bite size cookies with different designs.

Have fun baking!

May 14, 2010

Hello sunshine!

We all know the old saying, "April showers bring May flowers!". We've had a lot of rain this spring, so needless to say, I'm ready for some flowers! So, I made my own.

This past week I made cupcakes for a BBQ picnic we threw for one of my coworkers. This was her last week because she and her family about to have a new little bundle join their lives.

I've been working my way through a new cook book I picked up at C&B, Baked: New Frontiers in Baking. The authors Matt Lewis and Renato Poliafito are also the owners of Baked in Brooklyn, NY. My favorite thing about the book and their recipes is that it seems like they just tweaked American classics by using higher quality ingredients and updated flavorings. Everything just seems to have a different and special touch.


I decided to make their Devil's food cake cupcakes...what pregnant woman doesn't like chocolate, right? This was my first time making these and they were AMAZING! Light, fluffy, moist...everything you want in a cupcake!

DEVIL’S FOOD CAKE

For the cake batter:
1/3 cup Dutch-processed cocoa powder, sifted
1 teaspoon instant espresso powder
4 ounces semisweet or bittersweet chocolate, finely chopped
1 cup boiling water
2 teaspoons pure vanilla extract
1 cup buttermilk
½ cup (1 stick) unsalted butter, at room temperature
½ cup vegetable oil
1 cup firmly packed dark brown sugar
1 cup granulated sugar
3 large eggs, at room temperature
2 ¼ cups cake flour
1 teaspoon baking soda
½ teaspoon salt


1. POSITION A RACK IN THE MIDDLE OF THE OVEN AND PREHEAT TO 350 DEGREES FAHRENHEIT. Lightly grease two 9-inch round cake pans or spray with nonstick cooking spray. Line the bottoms of the pans with circles of parchment or waxed paper. Grease the paper or spray lightly with cooking spray.
2. IN A LARGE BOWL, combine the cocoa powder, espresso powder, and chocolate. Pour in the boiling water and stir until the chocolate is melted and the mixture is smooth. Stir in the vanilla. Let the mixture cool, then stir in the buttermilk.
3. IN ANOTHER BOWL, using an electric mixer set at medium speed, beat the butter and oil together until light and fluffy. Add the sugars and beat until creamy. Beat in the eggs, one at a time, beating well after each addition.
4. SIFT TOGETHER THE FLOUR, baking soda, and salt onto a sheet of waxed paper. Add one-third of the flour mixture to the batter and beat at low speed for a few seconds, just until combined. Beat in half of the chocolate-buttermilk mixture, again beating just for a few seconds until combined. Scrape down the sides of the bowl with a rubber spatula. Beat in another one-third of the remaining flour mixture for no more than a few seconds, just until combined. Add the remaining chocolate-buttermilk mixture, beating just for a few seconds until combined. Finally, fold in the remaining one-third of the flour mixture by hand, using a large balloon whisk or rubber spatula, just until no streaks of flour remain.
5. DIVIDE THE BATTER BETWEEN THE PREPARED CAKE PANS AND SPREAD EVENLY. Bake until a wooden skewer inserted in the center of a cake comes out clean, 25 to 30 minutes. Transfer to wire racks and let cool for 5 to 10 minutes. Invert the cakes onto the racks and peel the parchment paper from the layers. Cupcakes take about 15 to 16 minutes to bake. Let cool completely before frosting.

To go along with the picnic theme I decorated them to look like sunflowers. I used a basic buttercream icing recipe, mini chocolate chips for the centers and royal icing to make the lady bugs.


April 11, 2010

Candyland Birthday!


Last month I had the pleasure of attending a birthday party for my niece's best friend, Aislinn. (Don't you just love the tu-tu!)


We were greeted with lollipops lining the front walk (spray painted paper plates wrapped in celophane) and giant candies hanging from the tree (colored lanterns wrapped in celophane).


Missi, her mom, had the kids decorate their own cookies with vanilla icing and assorted candies.


...the completed works of art. They all did such a great job!


The cake...


They played a life size Candyland game...


...and this was waiting for them at the end! They were in heaven!


They all got to take home buckets that had toothbrush and toothpaste sets.


Each bucket had a roll of pennies in it and the kids had to "buy" the candy they wanted at "King Candy's Candy Shoppe".


They loved it!


Missi, this was such a great party with so many creative ideas! Thanks for inviting me....I had a blast!!!

March 26, 2010

Spring is FINALLY here!

The year's at the spring
And day's at the morn;
Morning's at seven;
The hillside's dew-pearled;
The lark's on the wing;
The snail's on the thorn;
God's in His heaven -
All's right with the world!
~Robert Browning

I love the last line of this poem! It's exactly how I feel right now! These first few weeks of Spring are so refreshing and definitely needed after the nasty winter we just had. It's my favorite time of year!

When I was out running errands last week, enjoying the coat free weather, I found the cutest cookie cutter set that I just had to buy. It's a stackable set that includes a flower base, petals and the cutest little bumblebee! I made a few and gave them to the wonderful ladies who work with my mom. They turned out pretty cute if I do say so myself. Hope you enjoy!


I also made a few butterflies for a March of Dimes fundraiser at work. I love the idea for the wings (which I got from one of my favorite blogs Sweetopia) and the colors. You just can't beat the fresh pinks, sky blues, soft yellows and lilac purples of spring time.


January 20, 2010

Gotta love girls night!

Last weekend I had the pleasure of making the dessert for a much needed "Girls Night". There were a few old friends and some fabulous new faces. These girls were such a delight to spend the evening with! There's no better ending to a stressfull week than a night filled with laughter, wine and chocolate...of course! I found my latest recipe in "Sticky, Chewy, Messy, Gooey" by Jill O'Connor. I bought this book on a whim about a year ago because the cover and pages were just too cute...boy, am I glad I did! Everything looked delicious, but I never really had a reason to make anything in it until now. These cupcakes are delish and have the perfect amount of chocolatey goodness.


BLACK BOTTOM CUPCAKES
(makes 12 standard cupcakes with the picture perfect mushroom top)

For the filling:
8 ounces mascarpone cheese (If you can't find it, you can use cream cheese as a substitute)
½ cup confectioners’ sugar
1 large egg
Pinch of salt
1 teaspoon pure vanilla extract
1 cup miniature semisweet chocolate chips

For the cake batter:
1 ½ cups bleached all-purpose flour
½ cup firmly packed dark brown sugar
½ cup granulated sugar
¼ cup natural cocoa powder
¼ teaspoon baking soda
¼ teaspoon salt
1 cup boiling water
1/3 cup vegetable oil
1 tablespoon apple cider vinegar
1 teaspoon pure vanilla extract

For the chocolate glaze:
8 ounces semisweet chocolate, finely chopped
¾ cup (1 ½ sticks) unsalted butter, cut into 6 pieces
¼ cup light corn syrup
1 teaspoon pure vanilla extract

1.PREHEAT THE OVEN TO 350 DEGREES FAHRENHEIT. Line a standard 12-cup tins with paper cupcake liners. (The cake ended up sticking to the paper, so foil liners will probably work better)

2.TO MAKE THE FILLING: In a medium bowl, cream together the mascarpone, confectioners’ sugar, egg, salt, and vanilla until smooth and creamy. Stir in the chocolate chips.

3.TO MAKE THE CAKE BATTER: In a large bowl, whisk together the flour, brown sugar, granulated sugar, cocoa powder, baking soda, and salt. In a 2-cup measuring cup, combine the boiling water, oil, vinegar, and vanilla. Make a well in the center of the dry ingredients and pour in the liquid ingredients. Stir together until smooth.

4.FILL EACH CUPCAKE CUP ONE-FOURTH FULL OF BATTER AND TOP WITH A HEAPING TABLESPOON OR SO OF THE FILLING; divide it evenly and use it all. Top the filling with the remaining batter, dividing it evenly. Bake until cupcakes are puffed and firm, about 25 to 28 minutes.

5.MEANWHILE, MAKE THE GLAZE: Combine all the ingredients in a microwave-safe bowl and microwave on high for 1 minute. Remove from the microwave and stir until smooth. If the chocolate is not completely melted, continue to microwave for 30-second intervals and stir until smooth.

6.TRANSFER THE CUPCAKES IN THE PANS TO A WIRE RACK AND LET COOL COMPLETELY. When cool, dip the top of each cupcake in the chocolate glaze (feel free to double, triple, or quadruple dip, if you like!). Let the excess glaze drip from the cupcakes for a few seconds and then place the cupcake right-side up on the wire rack until the glaze firms before serving.


YUMMM!